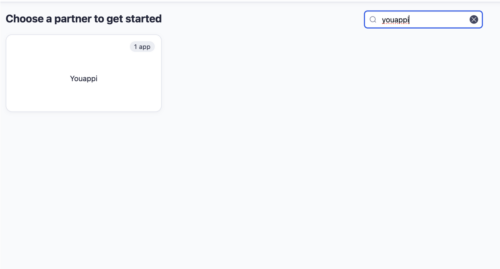
1. Choose Youappi as partner! Partner setup can be found under campaign lab.
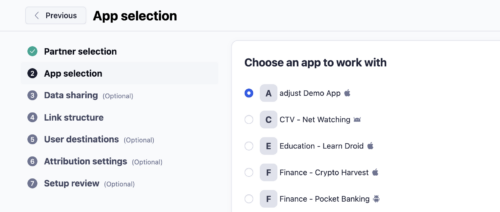
2. Choose the app from the list of the apps that you would like to run the reengagement campaign for
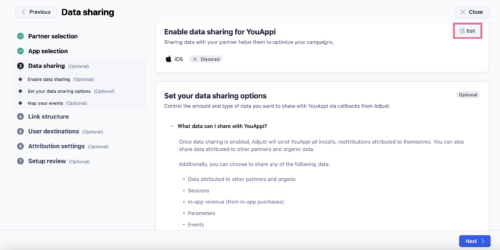
3. Enable data sharing:
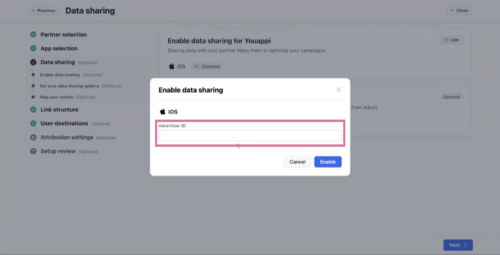
4. Add the 4 digit client ID (provided by Youappi):
5. Make sure that all data (including unattributed) is shared with us:
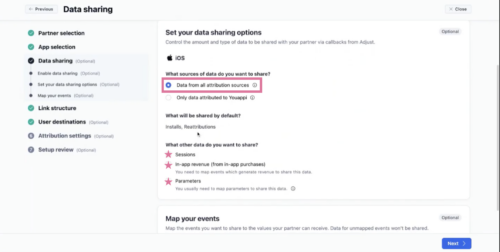
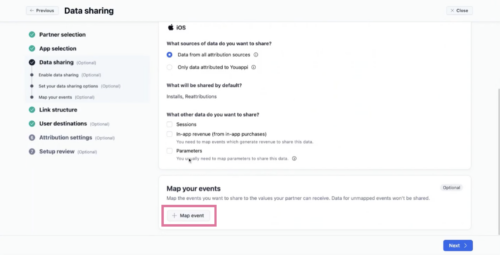
Toggle ON “In-App Revenue”, “Parameter”, “Session”.
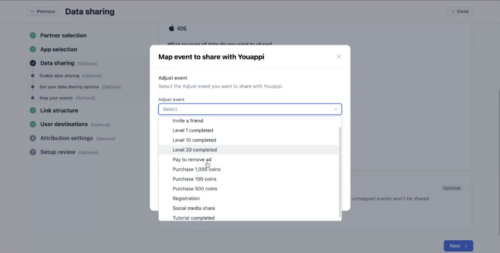
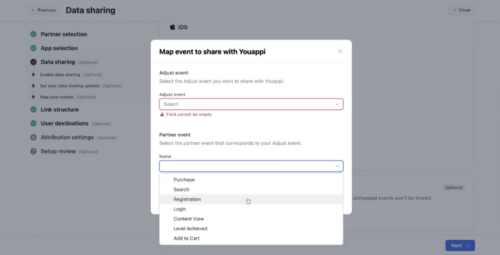
6. Click on Map event for enabling the relevant events:
7. Continue with the trackers based on the agreed campaign structure:

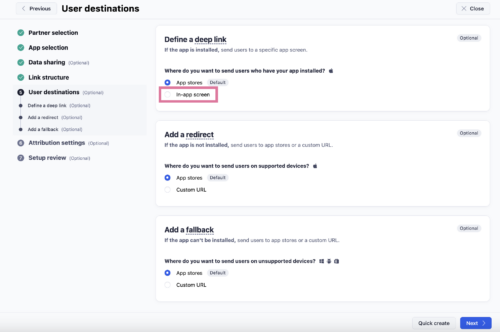
8. Deep link is an essential part of reengagement. Please select in-app screen instead of App stores for increased engagement within the app:
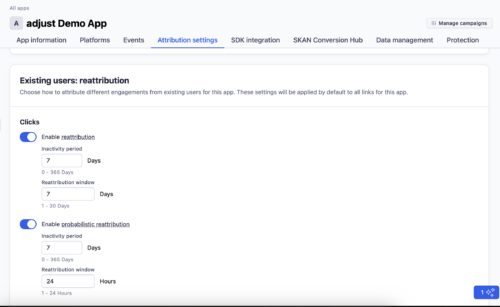
9. Set inactivity and reengagement attribution window according to the discussion with your POC or leave it on default.
10. To set up custom user permissions to see a particular networks’ trackers, first click the adjust icon in the top left-hand corner of the screen in the dashboard:
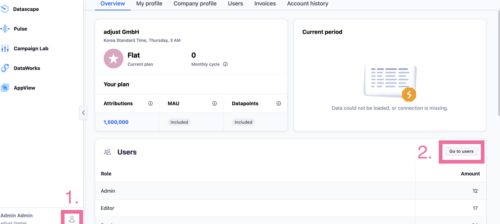
This brings up a panel on the right-hand side. Here, enter the email:
re-engagement-ops@youappi.com
and click on the custom box.
And it’s all done!
For more help:
User permissions doc: https://help.adjust.com/en/article/permission-levels
Adjust doc for our module: https://help.adjust.com/en/partner-setup/youappi
Please reach out to re-engagement@youappi.com for further assistance, our team will support you.